Tuesday, September 25, 2012

Resurfacing Old Furniture

 I found this post saved as a draft, not sure why, I wrote it in July!

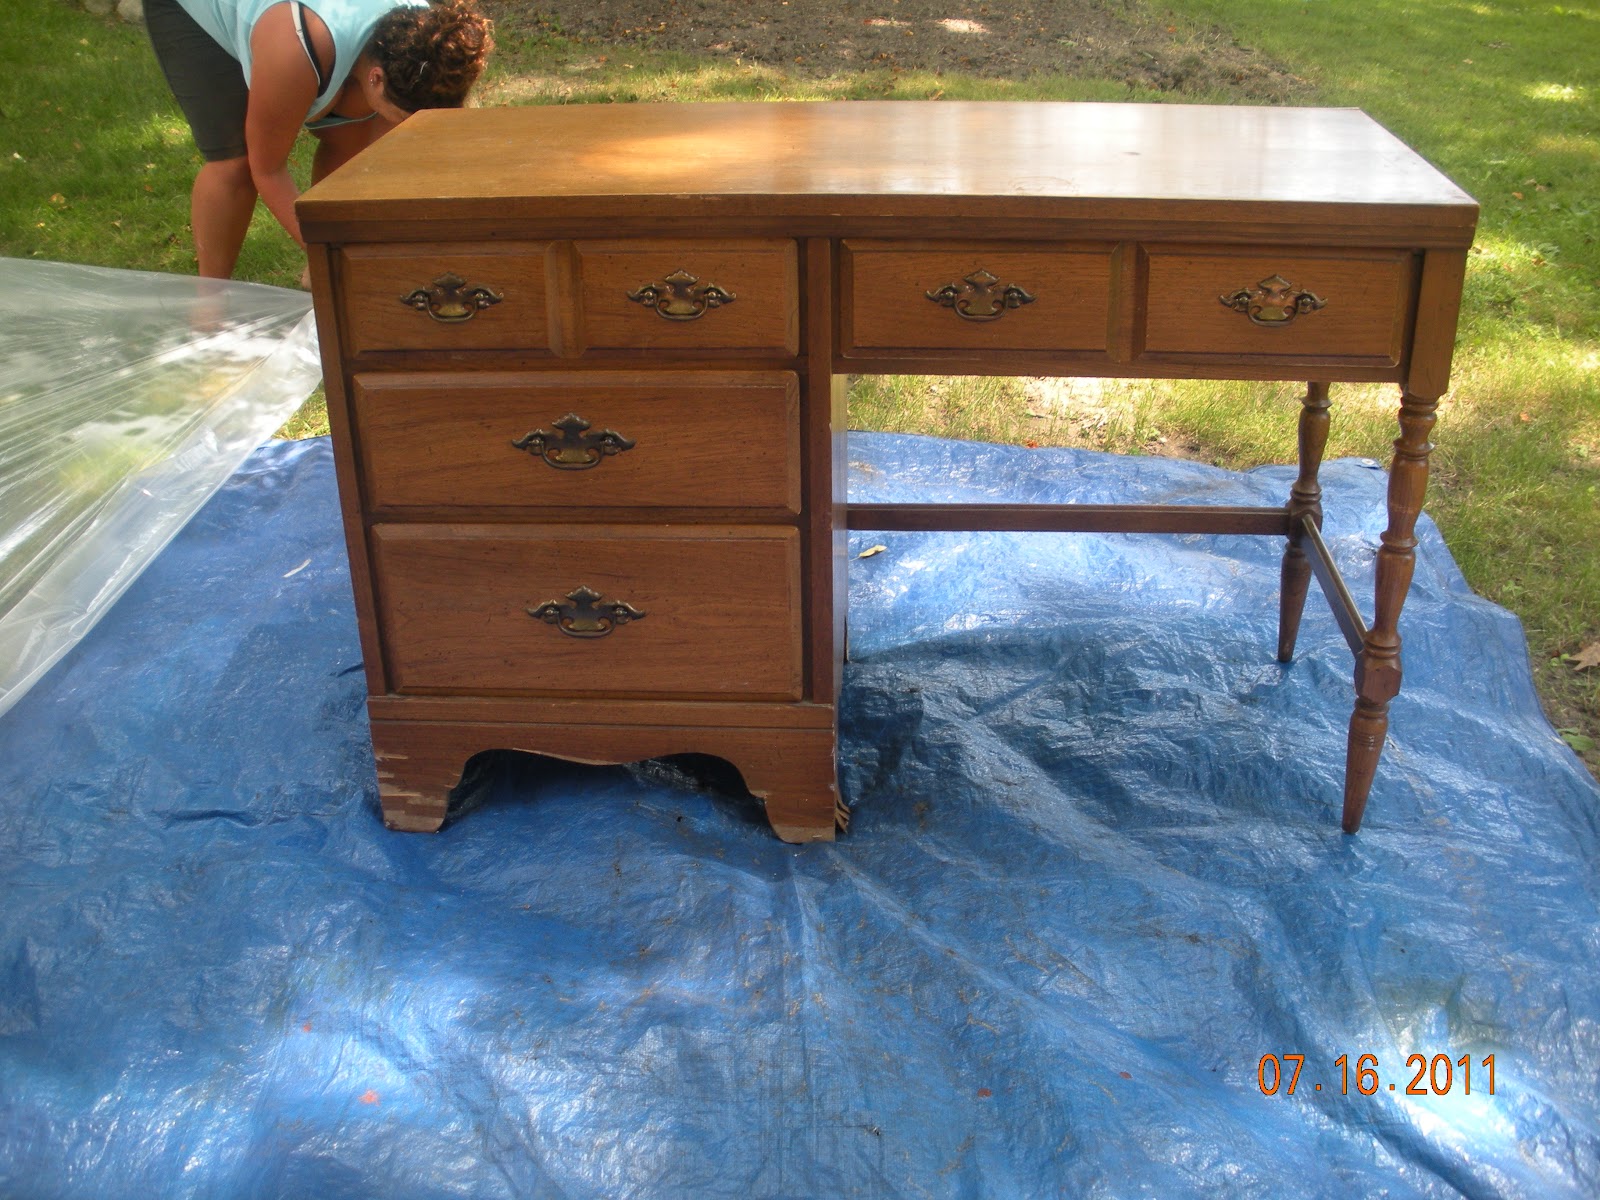
           It has been a month already from my last blog post, I don't know where my time has gone! Truthfully, my best friend, partner in crime (and fellow DIY craft enthusiast) has been gone in London for 2 months this summer and it hasn't been the same with out her! I have several crafts lined up for when she gets back next week! This project all started when I found a dresser sitting on the side of the road during my christmas break of 2010. I made my sister help me load it into the car and we snuck it into my basemement. It was covered in snow, smelled like moth balls, and needed some serious diy love. I cleaned it using various wood cleaners. I then let it sit in my basement with all of the drawers out until summer started. When I mentioned my project to my partner in crime she got very excited because she had a desk that needed resurfaced as well. We had no idea what we were doing, but they turned ot pretty awesome!

Materials:
-something to resurface
-sand paper and sander
-wood putty
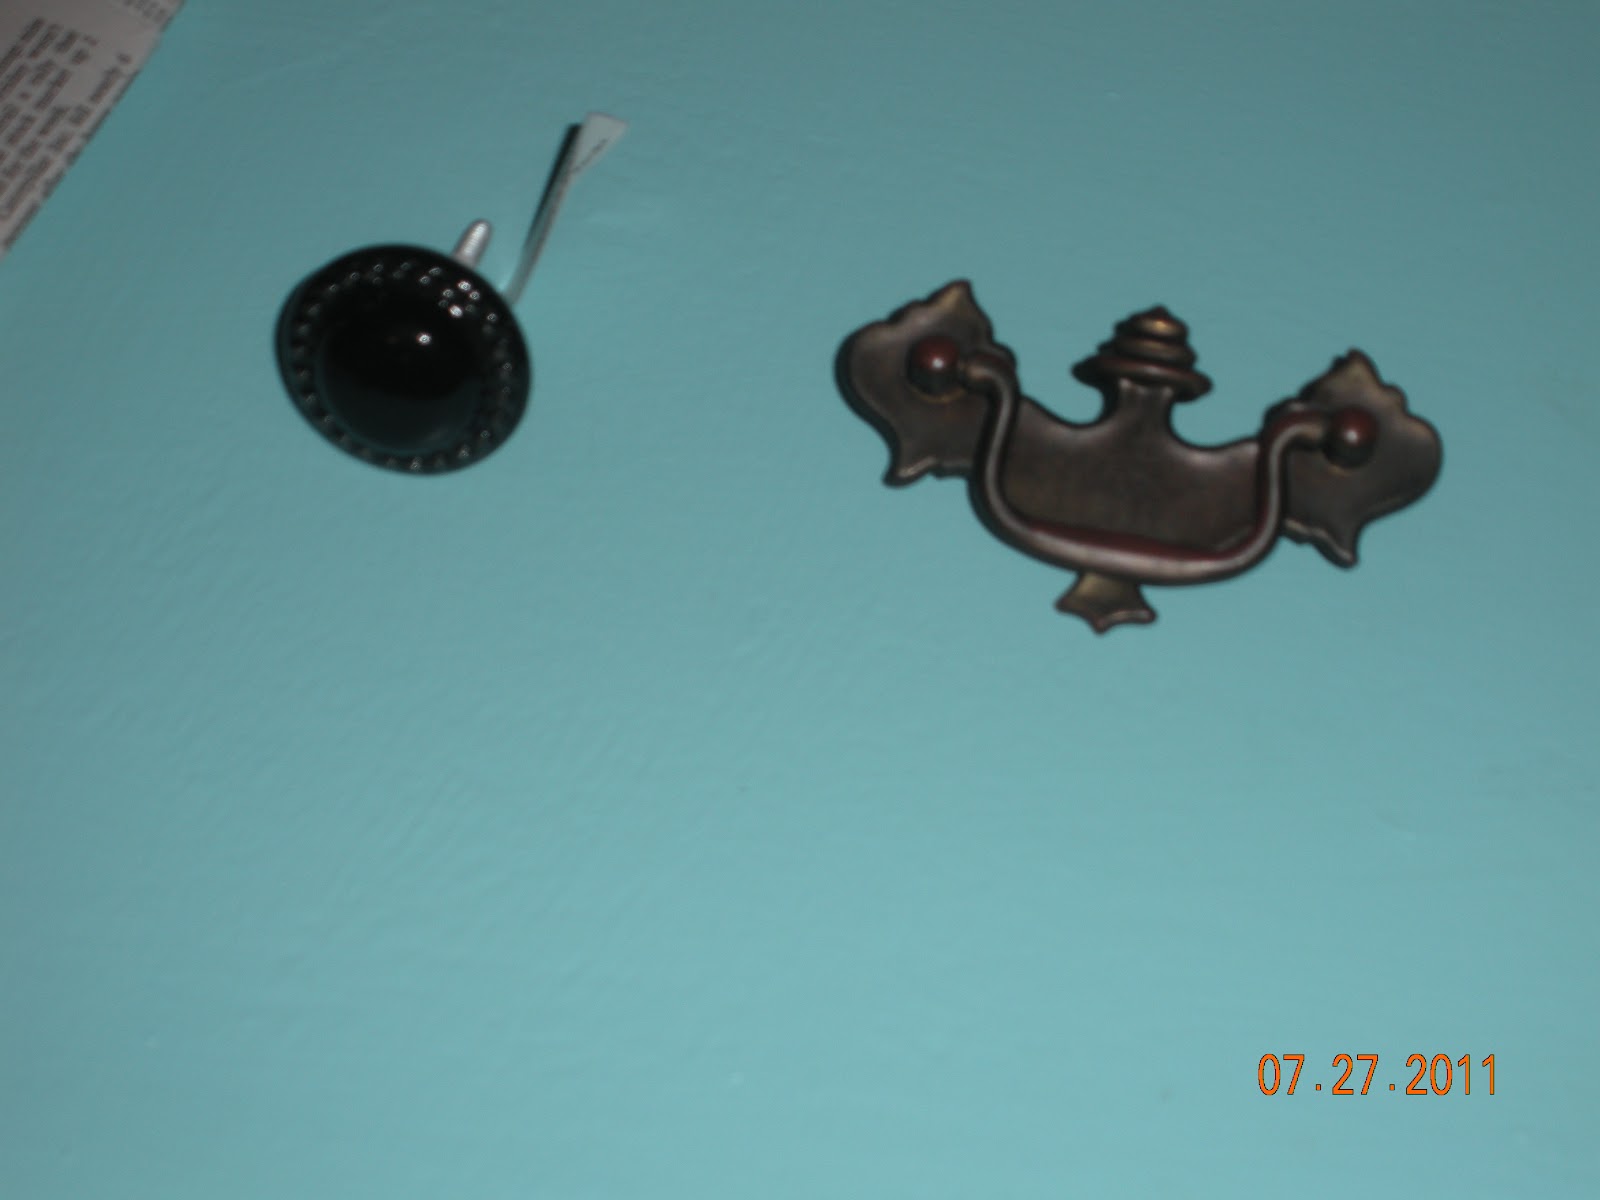
-new hardware (I purchased mine at Hobby Lobby)
-paint
-primer
-wallpaper stripper (if necessary)

Step One:

My drawers had old yellow wallpaper in it that needed removed. So I used DIF concentrate wallpaper remover. Removing wallpaper is a PAIN, but it will all be worth it in the end. This being said, make sure you take the time to do it right, and get ALL of the wallpaper off.


Step Two:
If the wood is shiny and has a finish use a sander to sand the surface of the furniture. Make sure that you sand every surface that you are painting, otherwise the paint will just chip off. We tried using some product called Xylene that was supposed to prep the wood to paint. It had scary warnings on the back of it, and didn't work too well, so we just sanded :) After this step make sure you wipe off your furniture really well using a wet cloth. Also make sure it is completely dry before you proceed.


Step Three (optional):
This step may not be necessary, it depends on what you are doing with your hardware. I replaced mine from drawer pulls to knobs. Because of this I had to fill the old holes with wood putty. Once the putty was completely dry sand it down so it is even with the wood surface and drill new holes for your hardware.


Step Four:
Paint all of the surfaces with primer. One coat will suffice.


Step Five:
Apply two coats of your paint, making sure that you leave plenty of time for your coats to dry in between. After this, paint on any embellishments or designs that you want to add. My piece of advice for you (what I learned the hard way) LESS IS MORE.

Here are our before and after pictures:


and here are my after pictures, sadly I don't have any pictures of hers, but I will find some soon!


I really liked how my dresser turned out! Sadly, I haven't been able to use it yet because there is no room in my apartment. For the past year and a half it has been in my basement holding all of my craft supplies :( Happy crafting!


Cheesy Quinoa and Garlic Lemon Chicken

Hey guys, sorry I haven't been around much lately, the start of the school year was absolutely crazy!! I spent a lot of time decorating my apartment, there are pictures to come soon! My first post of the school year is what I made for dinner last night, it was super easy and DELICIOUS. At the beginning of the school year I accidentally bought a giant bag of quinoa instead of couscous and have been trying recipes with it ever since. So far my meals had been pretty good, but not necessarily something I would make over and over again, until last night. I made cheesy broccoli quinoa and garlic lemon chicken with caramelized onions and peppers. Here is the recipe:

Cheesy broccoli Quinoa:


-1 1/2 cups quinoa, rinsed and drained
-Veggies of your choice (optional), I used broccoli
-good pinch of salt
-2 cloves garlic, minced
-2 large eggs
-1 cup soy milk
-1 1/2 cups grated cheese, I used a mixture of mozzarella and cheddar (more for sprinkling)
-2 white onions, chopped
-panko bread crumbs (about 1 cup)


1) prepare the quinoa according to the directions on the package. I used 1 1/2 cups of quinoa and 3 cups of water. brought it to a rapid boil and let simmer for 15 minutes, until al the liquid was gone and the quinoa was done. Be warned, the quinoa expands, ALOT.
2) While the quinoa is cooking start cooking any veggies you want to add to your dish. I steamed broccoli and sautéed some chopped onions.
3)Preheat oven to 350 F. Coat 9x13 inch dish with cooking spray.4) Whisk together eggs and milk in large bowl. Fold in quinoa mixture and cheese. Transfer to 9x13.5) sprinkle with extra cheese and panko. bake for 30 minutes (I covered mine in foil for 15 minutes and then uncovered it for the last 25 so the cheese could get bubbly), or until the bread crumbs are browned and the cheese is bubbly.


Garlic Lemon Chicken with caramelized peppers and onions


-this was super easy, and I didn't use any recipe. I just cooked my chicken in a pan and covered it in 5-6 cloves of minced garlic. While it was cooking, I squeezed a lemons worth or juice over the top. -I started my caramelized peppers and onions when I started sautéing the onions for the cheesy quinoa. The longer you let the peppers and onions caramelize the better, mine were cooking on low heat for about an hour. I cooked them with a little bit of olive oil and some garlic over LOW heat.


Sadly, I forgot to take pictures, but we demolished EVERYTHING. It was seriously so good. The cheesy quinoa kind of tasted like broccoli cheddar soup from Panera. This recipe is also great because you could add any vegetable to it, you could even add some cubed chicken! Happy cooking!!!


ps. I love fall because there is pumpkin EVERYTHING. I have been drinking Iced pumpkin Chai from Caribou like it is my job!

Sunday, August 5, 2012

Wine Cork Board

I am not sure where I originally saw this idea, but it has been all over the internet lately. I had my parents and neighbors start collecting corks about a year ago. I have been looking for a cute frame to use and I finally found one last weekend!

supplies:
-old frame
-hot glue gun
-wine corks
-sharp knife or big pair of scissors

This project is really simple and turns out looking great! All you have to do is line the corks up inside of the picture frame and hot glue them into place. The most complicated part of the project is if the corks don't fit perfectly into the frame you have to use scissors or a knife to cut one of the corks so it fits. Its as simple as that!

Before:


 After:

I made mine in a smaller frame so I can hang it in our kitchen as a message board. However, you can make one in any size you like, just start collecting corks!

Sunday, July 22, 2012

DIY Tile Coasters

I am moving into my first apartment this August and i can't wait to decorate! I have been going crazy on pint rest pinning hundreds of cute apartment ideas. Last year I was digging around in the basement and I came across a bunch of tile that was extra from when we re-tiled the bathroom in our old house. Ever since, I have been looking for a fun craft project for them. I don't know where I originally saw this idea, but I have seen it many times since. This whole project took maybe 30 minutes total spread out over a few hours. It is super simple and they turned out WAY better than I expected! However, I was using the camera on my phone so the pictures aren't that great :(

Supplies:
-tile (they can be any shape, mine were 3" squares. They can be purchased at pretty much any hardware store)
-cute scrapbook paper
-mod podge
-felt
-scissors
-craft spray gloss

    First, cut the scrapbook paper so that it covers the top of your tile. A few tips: some scrapbook paper is thicker than others.  Buy the thinner kind, it will make your life much easier. Also, don't worry about covering your whole tile perfectly. My edges were rounded a little so I just left a little boarder of tile. After you have cut all of your paper glue the paper to the tile using the mod podge. Make sure that your tile is clean and that you don't go too crazy with the mod podge because an excess may cause the paper to wrinkle. Once dry (or a few minutes later if you are impatient like me) put a layer of mod podge over the scrapbook paper. Make sure to cover all of the way to the edge of the tile. Let it dry completely. Apply a second coat. Let it dry completely. Cut your felt into squares that cover the underside of the tile to protect your furniture. Mod podge the felt into the bottom of the tile. Once everything is dry take the tile outside and apply a layer of a clear, shiny, craft spray. I just used clear spray paint. This just makes everything a little waterproof and shiny. Apply two coats if desired. Now grab yourself a drink and admire your work :)

   I made these with a friend. Mine are the polka dot, stripped and flowered set. 


Wednesday, July 4, 2012

DIY Tie Onesie

      My cousins first birthday was a few weeks ago and while I was shopping for a present I saw some adorable onesies that had ties on them. They were way overpriced so I decided to make one myself. It was a little tricky to get the shape of the tie just right, but it came out really cute!


Materials:
-plain onesie (any color works)
-material scrap


     I used scraps of material that were 20 inches long and around 4 inches wide. I folded mine in-half (so it was 10 inches long) with the right side of the material facing in and then drew a tie onto using a pen. This was the hardest part of the whole project. It takes a few tries to get it right. Some advice: draw the tie bigger than you actually want it to be so that when you sew it and flip it right side out you don't end up with a really skinny tie!


       Once you are happy with the tie that you have drawn sew along the sketched lines that make the sides and bottom of the tie, but not the top. Cut out the tie. Flip the tie right side out and iron it. Make sure the tie looks good on your onesie. I had to make three of them so it was exactly how I wanted it. Since the top edge of the tie is a raw edge, fold the raw edge inward about  half an inch and iron it. Pin the tie onto your onesie. Finally, sew all along the edge of the tie. Sewing the tie onto the onesie is pretty tricky as well. I was using a size 18 mo. and it was almost too small to fit on the sewing machine so just make sure you go slow and are very careful while attaching the tie.


Happy sewing and happy fourth!


Tuesday, July 3, 2012

Deviled Egg Recipe

              Lately I have had on obsession with eggs. I LOVE them. I like them over easy, scrambled, boiled, and have just discovered the amazingness that is eggs benedict. When I was younger and my Grandma made deviled eggs I would always sneak back into the kitchen and eat them as fast as I could. She hasn't made them in a few years and I was really craving some the other day so I thought I would give it a try. I made a batch this afternoon for a 4th of July cookout tomorrow, they are FANTASTIC. I had to hide them in the basement so my dad and I don't eat them all before tomorrow!


Ingredients:
-12 eggs
-2/3 cup miracle whip (a little less if you want them fluffier)
-2 tsp. spicy yellow mustard
-a few dashes of tabasco
-a pinch of paprika


           First boil the eggs. I never knew how to boil eggs and would always put them into the pot and boil them for around 20 minutes, or whenever my patience ran out. Last year I finally looked up how to boil an egg, and it has seriously made such a difference! First, place the eggs in a pan and make sure that they are covered with at least an inch of water. Cover the pan and bring the water to a boil. Once the water is boiling turn the heat off and let the eggs sit covered for 17 minutes (for large eggs). Then dunk them in cold water, and perfecto!
              Once you have boiled your eggs, and they have cooled cut them all in half lengthwise and place them yolk up on your serving platter. Scoop out all of the yolks and put them in a bowl. Use a fork to mash and smooth out the yolks as much as possible. Add the miracle whip, mustard, and tabasco to taste. Stir it up really well. (I like my eggs really creamy so I actually blend mine with a mixer)
             Finally, put the egg mixture back into the egg white. A good way to do this quickly, cleanly, and easily is to spoon all of the egg mixture into a plastic baggie and cut just a little bit of the tip off. Then, you can squeeze it out like a pastry bag and into your egg white shell. This also makes them look pretty! Sprinkle with paprika and enjoy!!!

Happy Fourth of July!!!

Sunday, July 1, 2012

DIY Mugs!

Hey guys! I was stumbling through my favorite craft sites and came upon this. So, I decided to give it a try myself. These are almost too easy to make. All you do is take a mug (I got mine from Pat Catan's for a dollar) and draw on them with sharpies. (UPDATE: make sure that you choose a CERAMIC mug. Sadly mine wasn't, and the sharpie has started to smudge :( However, I recently purchased a few ceramic ones so I can remake them! )When your design is done bake the mugs in the oven for 30 minutes at 350°. Let them cool completely before use.


Here are mine: (mine are the two on the end, my sister's is in the middle)

When mine cooled I tried scrubbing them and the design didn't come off at all. However, DO NOT put them through the dishwasher. This would also be a cute idea for gifts! Happy crafting :)

Saturday, May 26, 2012

I'm back..with a breakfast drink!

I recently realized that I haven't posted a blog entry in months...I could blame it on school and such, but i'll be honest, I totally forgot about it. I have several ALMOST finished posts on my computer, I will finally have time to finish them this summer :) I was looking online for an easy breakfast shake to make during the summer before I go work, and I found this recipe. I tried it a few mornings ago, and it was pretty good, kind of chunky though. So I tweaked a few more times and here is what I came up with:

Ingredients:
-1/2 c. old-fashioned oats
-1 c. soy milk
-1 tbsp. cocoa powder
-1 tsp. cinnamon
-1 tbsp honey
-1 1/2 bananas 

1. Grind the oats up in a food processor (this is the step that I added to make the smoothie less chunky)
2. Combine oats, milk, cocoa powder, cinnamon and honey in a tupperware and store it in the fridge over night. 
3. The next morning combine banana and oat mixture in a blender and blend until smooth. Enjoy!

I also might try adding a spoonful of peanut butter...

Wednesday, February 22, 2012

Cake Balls

           If you can't tell from my last entry, I have been in a cooking mood. I cannot wait until I have my own kitchen next year and I can cook anytime I want! A few fridays ago I was babysitting and decided that we  should attempt to make cake balls. A friend at school had a christmas party and she made chocolate covered cake balls, and they were amazing! I asked her how she did it and she said that she has a waffle-iron type of thing that makes the cake balls. I do not have one of those waffle iron things and don't really want to buy one so I decided to try and make them on my own. Word of caution: this makes a HUGE mess. Especially when done with three kids.
        All you have to do is buy a box of cake mix (we used fun-fetti), a tub of icing (you could use homemade but this was easier), and a two bags of chocolate chips. First, bake the cake. Second, use your hand to crush it up into small pieces. Mix about half of the tub of frosting into the crushed up cake. This is where it gets really messy. Once the mixture is thick enough to roll into balls but not too sticky refrigerate for about an hour. Roll the ball into half inch circles and place on a cookie tray that is lined with wax paper. Refrigerate again for half an hour. Melt the chocolate in a small bowl. Dip the cake balls in one at a  time and place back onto the wax paper. At this point we were impatient to try them so we stuck them in the freezer for 10 minutes so the chocolate could harden. Once the chocolate is hard, dig in!

Happy Baking!!!

Mushrooms, Sesame and Beans, Oh my!

I was home last weekend and after work on Saturday I was eating lunch and absentmindedly flipping through Cooking Light. They have a section every issue called cooking vegetarian and the mushroom brown-rice risotto looked fantastic! This inspired a night of cooking. I was planning on making the mushroom-brown rice risotto, southwest bean salad, and cold asian noodle salad. I made my shopping list, went to the store, cam back and began my cooking adventure. I soon discovered a major problem, I bought most of the wrong ingredients :( I couldn't find short grain brown rice so I bought risotto, I bought shiitake instead of porcini mushrooms, I forgot the parsley and the thyme and several other things. I was a little discouraged but am a fairly good cook so I decided to keep going and make it up along the way! All three recipes turned out fantastic, and I couldn't be happier!

Mushroom Risotto

1 1/2 tsp salt, divided
1/2 cup shiitake mushrooms, chopped
3-5 cups hot water
2 Tbs olive oil
1 lb cremini mushrooms, sliced
1/2 tsp black pepper
1/2 cup chopped shallots
1 cup white wine
3/4 cup Parmigiano-Reggiano cheese, grated
3 tsp thyme
12 oz Risotto

-in a large pan sauté shiitake and cremini mushrooms in 1 tabelspoon of olive oil. set aside
-heat one tablespoon of olive oil in the large sauce pan over medium heat, add shallots and sauté until tender
-add risotto, cook for two minutes, stirring occasionally, salt and pepper to taste
-pour one cup of white wine over risotto, stir constantly until almost all of the liquid has been absorbed. -stir in remaining water a 1/2 cup at a time. Wait until the liquid is absorbed before adding the next 1/2 cup.
-Stir in mushroom mixture.
-Sprinkle with thyme and Parmigiano-Reggino Cheese.
- Enjoy :)


Cold Asian Noodle Salad
-1 lb spaghetti
-6 Tbs toasted sesame oil
-1/4 cup low sodium soy sauce
-1 Tbs fresh grated ginger
-1 1/2 tsp chili-garlic sauce
-kosher salt
-4 kirby cucumbers, quartered lengthwise and sliced
-4 scallions, chopped
-2 medium carrots, grated
-1 cup fresh chopped cilantro
-1/2 cup chopped peanuts

-cook the pasta, drain and run under cold water
-in a small bowl whisk together the oil, soy sauce, ginger, chili-garlic sauce, and 1/2 teaspoon salt
-in a large bowl, combine cucumbers, carrots, cilantro and peanuts.
-add the pasta and dressing and toss to combine


Southwest Bean Salad
               This recipe is from my Aunt Carolynn, she brought it over for a cook out a few summers ago and my Dad and I love it! It is super easy to make and is a great lunch during the summer.

-2 cans black beans
-2 cans corn
-2/3 cup chopped onion
-1/3 cup chopped cilantro
-1 jalapeno, minced
-Juice of one lime
-3/4 tsp cumin
-1/4 tsp salt
-1/4 tsp pepper
-2 Tbs olive oil
-2 Tbs rice vinegar

-Mix everything together and enjoy :)


Saturday, February 4, 2012

Adventures as a Vegetarian

           Hey guys!! I know in a few of my last blog posts I promised I was going to try and post more often. Unfortunately, life got crazy again and I haven't posted in over a month. The new semester is now well under way and I have worked out a routine with classes and work and have been working to finish a few big tutorials. I have two tutorials I have been working on for you to look forward to: resurfacing an old dresser and making a book lamp.
           As my blog title suggests, I am experimenting as a vegetarian! It all started as  kind of a stupid reason. My friends and I were hanging out one night (adult drinks may have been involved...) and we decided it would be a good idea to be vegetarians for a month. This is only day 4 of the adventure, we began February 4th. At first it was kind of a joke, but now I think it would be interesting to see how long each of us can last. I also want to see what it will be like to be a veg-head on a college campus and still manage to eat healthy.
             The only challenge so far was when my friends and I went to Cilantro for dinner on Friday night. Most of my friends ordered sushi, which I LOVE. I was a little bummed, but decided to try a dish called Tofu Rama. It was grilled tofu with broccoli, baby corn, cabbage, carrots, and beans. I was a little skeptical at first, I have only ever had tofu in miso soup, but it was DELICIOUS.
            The next few weeks will be interesting, especially because I am going to Indiana the 10th-12th and Chicago the 24th-26th. I am super excited for my trips, but am a little nervous about the veggie thing, it will be an adventure to say the least!! Thats all for now, I promise to keep you updated this month :) Be looking for two big tutorials coming soon!!